I spent 2021 hiking around the country. After hiking Rurimeria Hills, I was sure that Mt Kenya was out of the question. The mountains of the Aberdare Ranges have harsh weather and extreme altitude. I’m sure anyone who has hiked Elephant Hill and Rurimueria Hills has a story to tell.
In 2023 I began treatment for my acne. I was put on accutane medication. My doctor was concerned about hiking while on medication as strenuous exercise is a contraindication. I decided to do the prep hikes and gauge how my body felt afterwards. The reason why I decided to treat my acne once and for all was because it was getting really expensive with the short term fixes.
Facials are a quick fix but not a permanent fix and honestly they’re more expensive than the acne medication in the long run.
I read this blog post, climbing on accutane and decided that I’m still going to go forward with my Mt Kenya summit. I’ve already had my fair side effects of accutane:
- Eczema on my hands.
- Dry lips that are sometimes pink and a bit blistered. Vaseline does the trick, chapstick doesn’t hold quite like Vaseline does.
- Dry eyes – I had a tear drops subscription but I also had to be super reliant on my glasses.
- Fatigue. Swimming was the only exercise that worked for this.
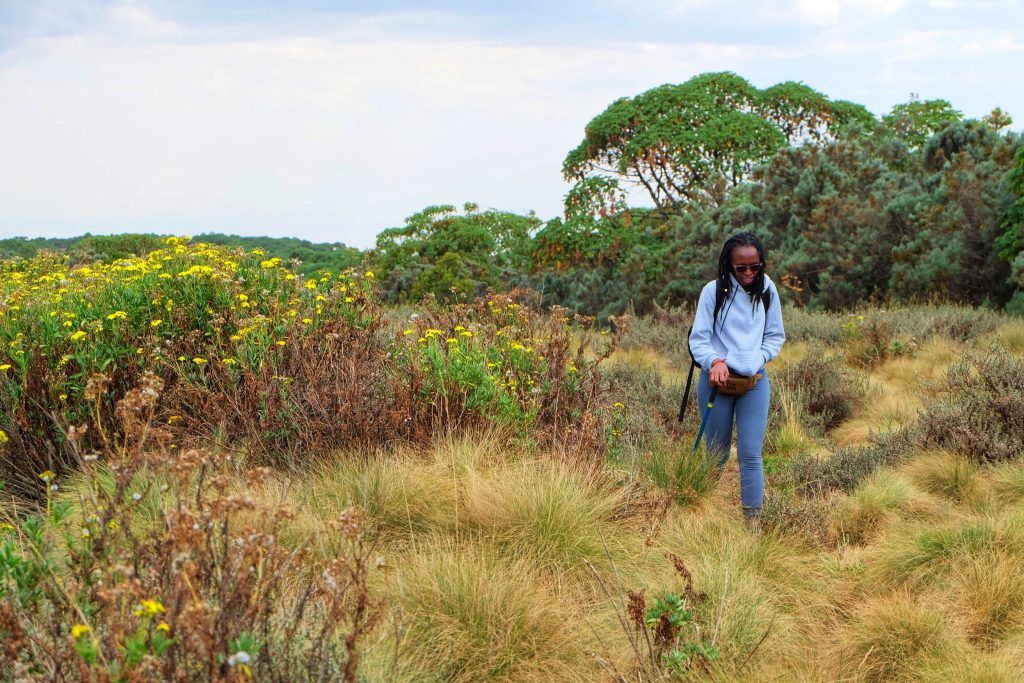
To summit Mt Kenya, it’s wise to do a couple of prep hikes, to test your endurance. The Aberdare Ranges is a must, as you get to learn how your body performs in high altitudes.
Table of Contents
How I Prepared for Mt Kenya summit:
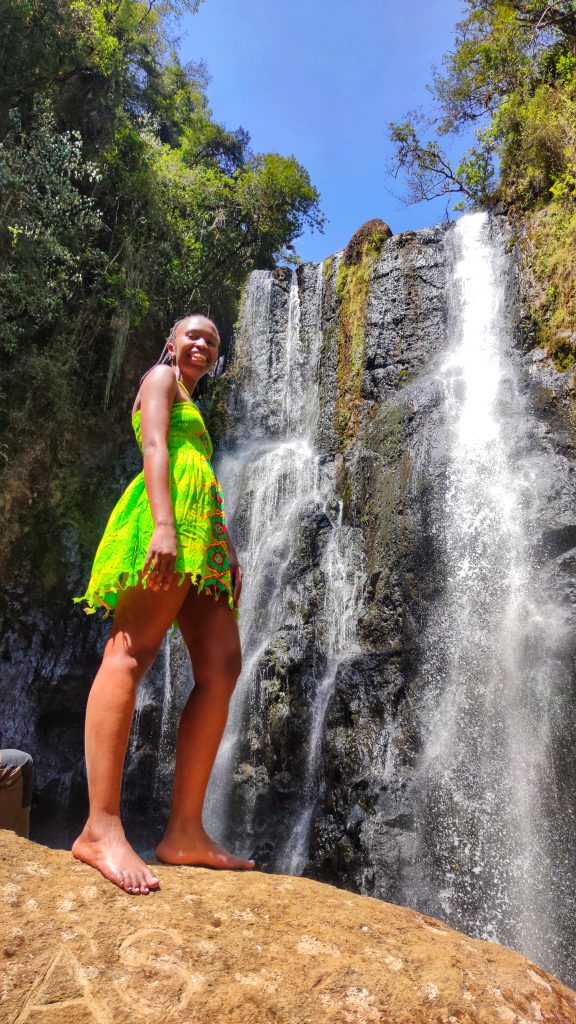
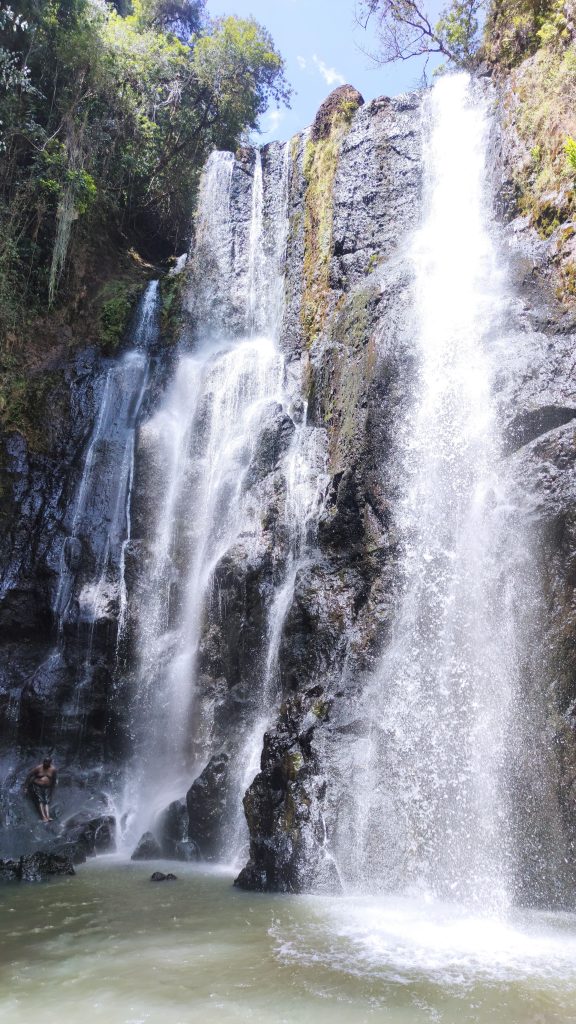
11th Feb 2023: Ragia Forest Trail with Waterfalls
This was my second time hiking Ragia Falls so I knew what to expect.
This time the weather and the trail was dry so it was a bit bearable. I highly recommend hiking Ragia Falls during the dry season as the trail is quite steep. descending takes forever as it feels like fighting gravity but ascending was fast.
The entire trail to and from took 14 Km.
Here are some pictures taken from the Ragia Falls Shoot.
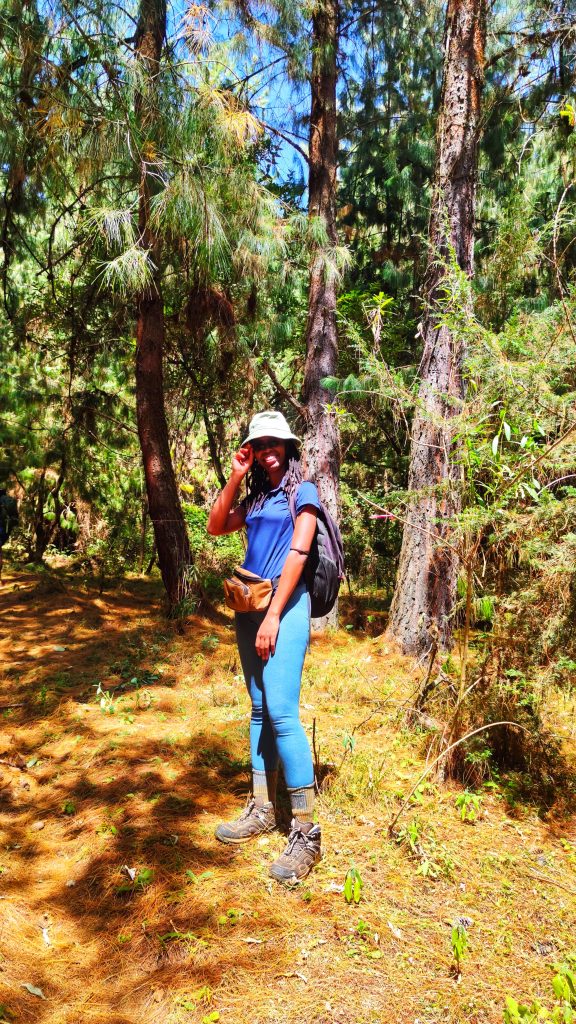
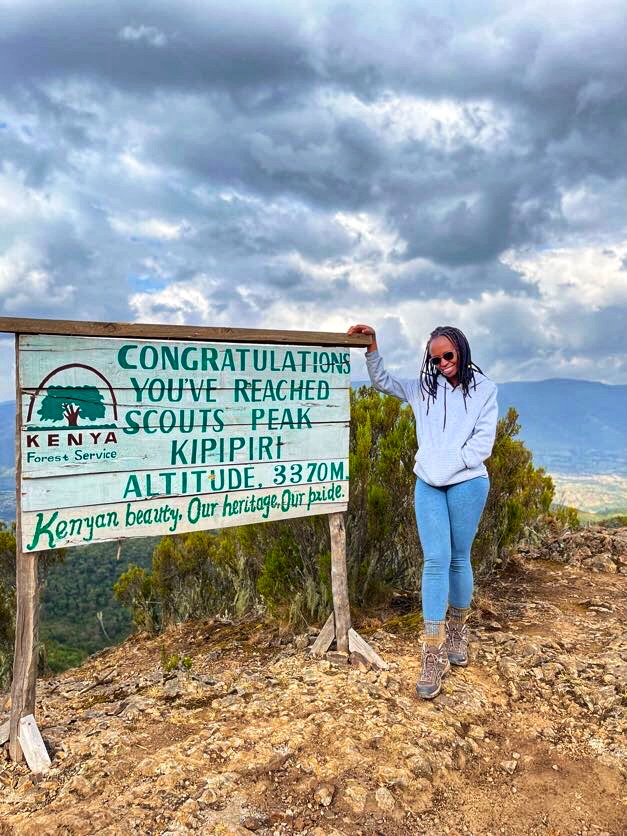
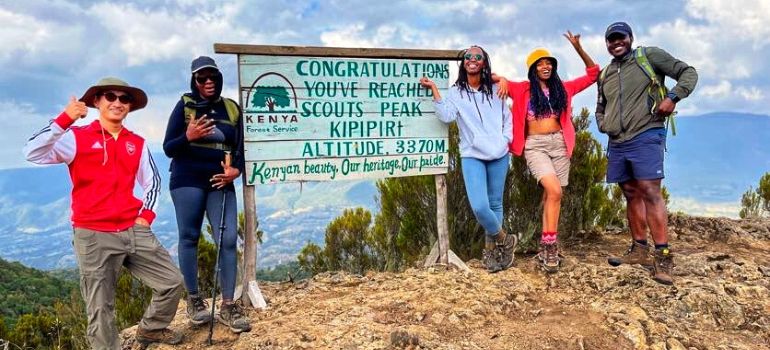
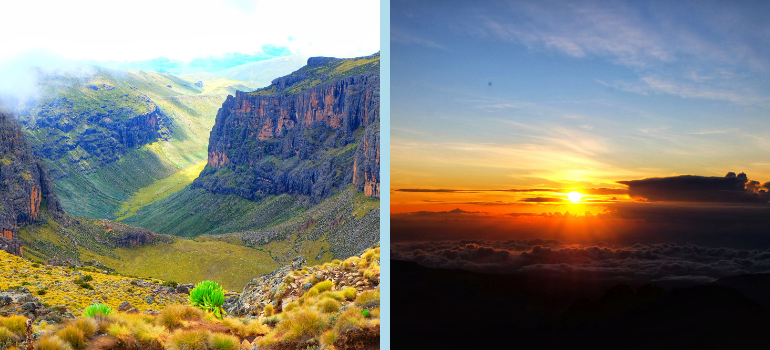
25th Feb: Mt Kipipiri
Hiking Mt Kipipiri is an incredible adventure for anyone looking for a challenging and rewarding experience.
Located in the Aberdare Range, Mt Kipipiri is the second-highest peak in the range and stands at an impressive 3,349 meters above sea level. The hike to the summit is steep and strenuous, but the breathtaking views of the surrounding valleys and mountains make it all worthwhile.
To get to Mount Kipipiri, you can take a bus or drive from Nairobi, which is about 2 hours away. Once you arrive, you will need to obtain a permit from the Kenya Wildlife Service (KWS) office in Njabini town. The permit costs Ksh 1,200 (approx. $12) for Kenyan residents and Ksh 2,200 (approx. $22) for non-residents. For this hike, I used Mona Trails by Kare.
Here are some pictures taken from my Mt Kipipiri hike:
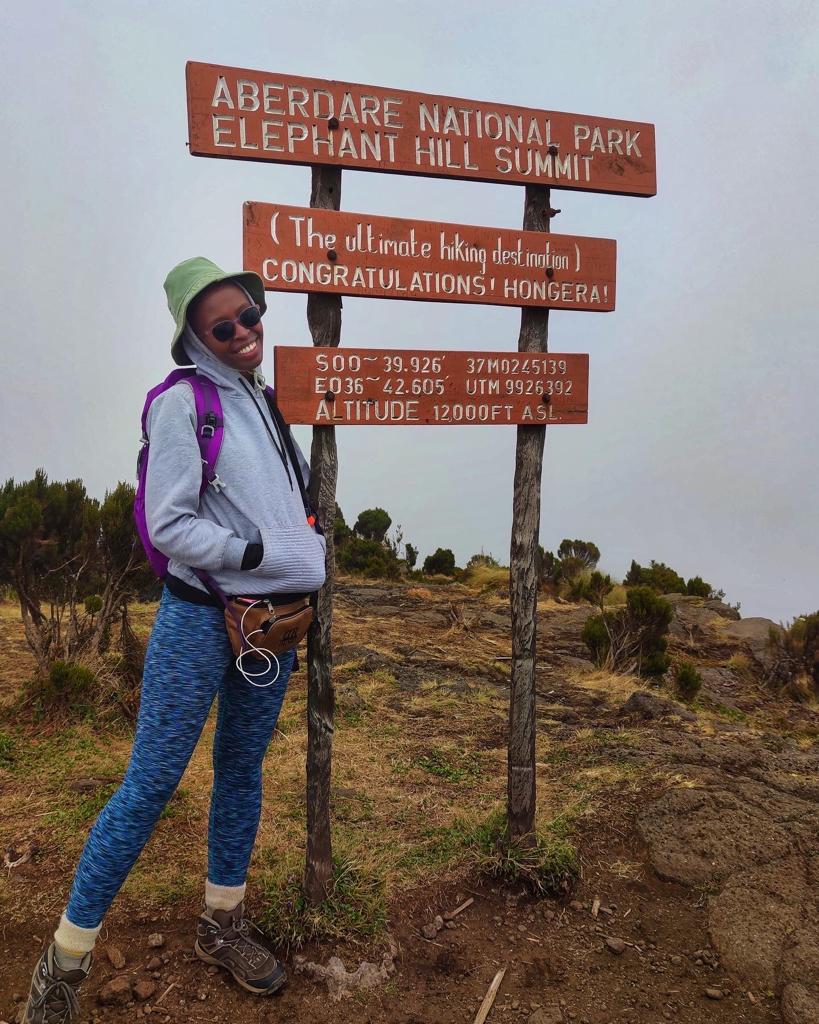
11th March: Elephant Hill, Aberdare Ranges
This was the second time I was hiking Elephant Hill. Read about the first time here.
Elephant hill is the most difficult of the hikes, followed by Rurimueria. I struggled at the never ending Bamboo trail and had a stitch around my neck due to the altitude which is something I’ve experienced before in high altitude.
Drinking water helped with this. Past the point of despair, I struggled with sleep! Imagine that. In high altitude, the oxygen going to the brain can decrease hence the urge to sleep.
Here are some pictures from my Elephant Hill hike:
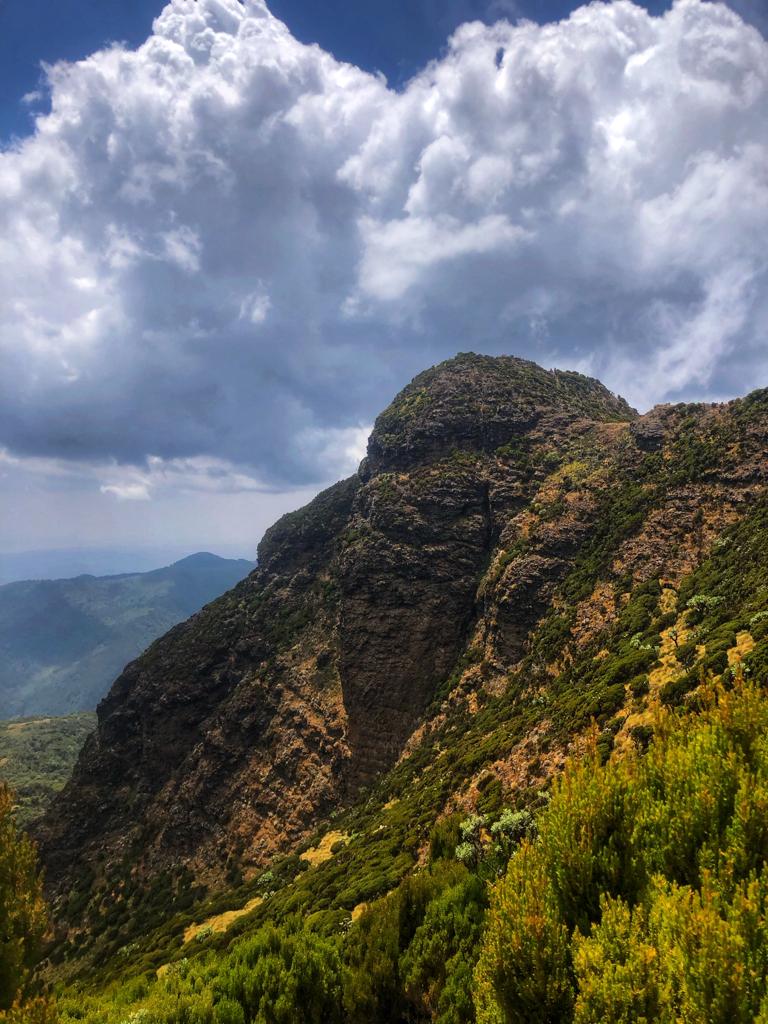
25th March: Mt Satima, Aberdare Ranges via Wandare Gate
We hiked Mt Satima, via Wandare gate. To access Wandare Gate, exit Nairobi via Thika road and drive all the way to Mweiga, past Nyeri. Wandare gate should be around there.
This route doesn’t cover Dragon’s teeth as dragons teeth are best accessed via the Shamata gate. An alternative would be to hike to Dragon’s teeth, then back to the summit and then exit via Wandare gate. Another alternative is to hike from wandare gate through Dragon’s teeth and exit via Shamata gate.
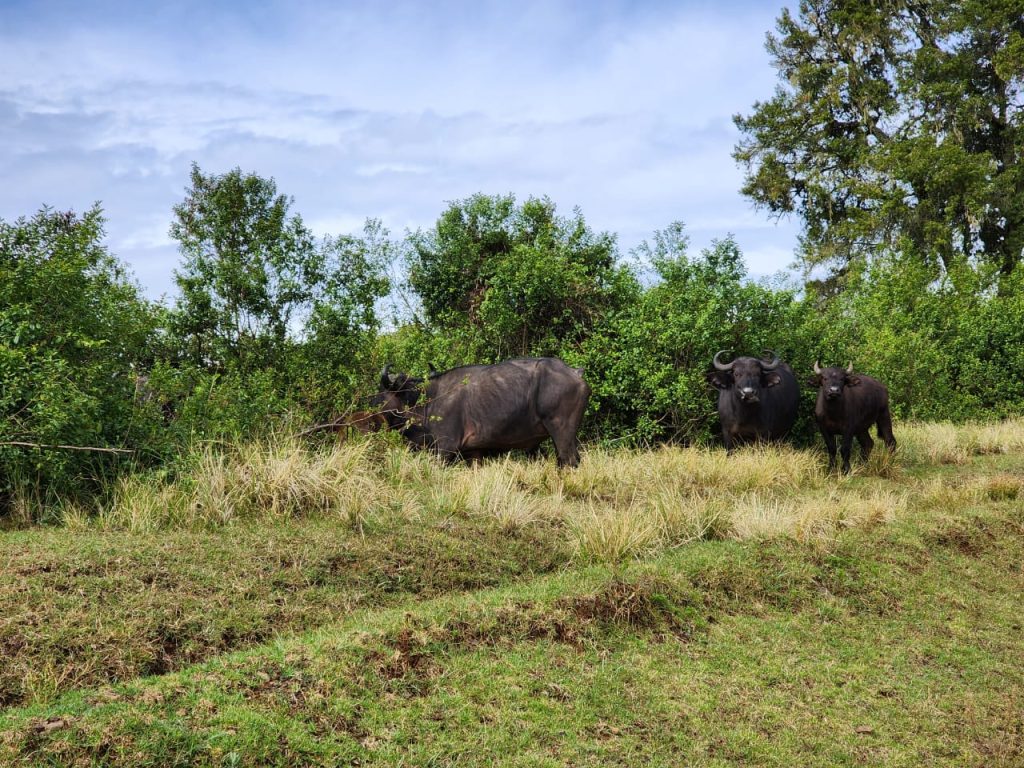
The hike starts at 3500m ASL, and you have to drive past the KWS/KFS entrance as they’re buffaloes and elephants (see buffaloes in the second frame!). This means you only gain 500mASL and cover around 12KM.
This trail is easier than the Shamata route for seasoned hikers.
Here are some picture’s of the hike, including the buffaloes!
Clothes and Supplies: What You Need to Summit
For the clothes and hiking gear, these I bought from Hawi Outdoors and Pach Hiking Gear. Hawi can be found online and on instagram. Pach has a physical shop on Parklands and can be contacted on +254 720877 116.
I bought brand new bags and sleeping bags from Hawi. I then bought second hand hiking clothes from Pach. I’ve always bought hiking gear from him since I started hiking.
From Hawi I bought:
- A jungle green adult rain poncho.
- An 80L porters bag – This will be carried by the porters.
- A normal hiking backpack with a padded back.
- A 2L hydration bladder with insulated pipe.
- 2 windproof gloves for the summit.
- A green envelope four season sleeping bag.
From Pach, I bought:
- 3 easy dry tops.
- 3 thermal wear tops
- 2 thermal wear bottoms.
- 3 pairs of summit socks
- Summit jacket.
- Summit pants
- Summit hat
Watch Mt Kenya Summit Vlog:
MT KENYA SUMMIT DAY 1: NAIROBI TO OLD MOSES THROUGH SIRIMON GATE
We left Nairobi at 7:30 am. Monicah of Mona Trails had organized a comfortable tour van to pick us up at Bata Hilton.
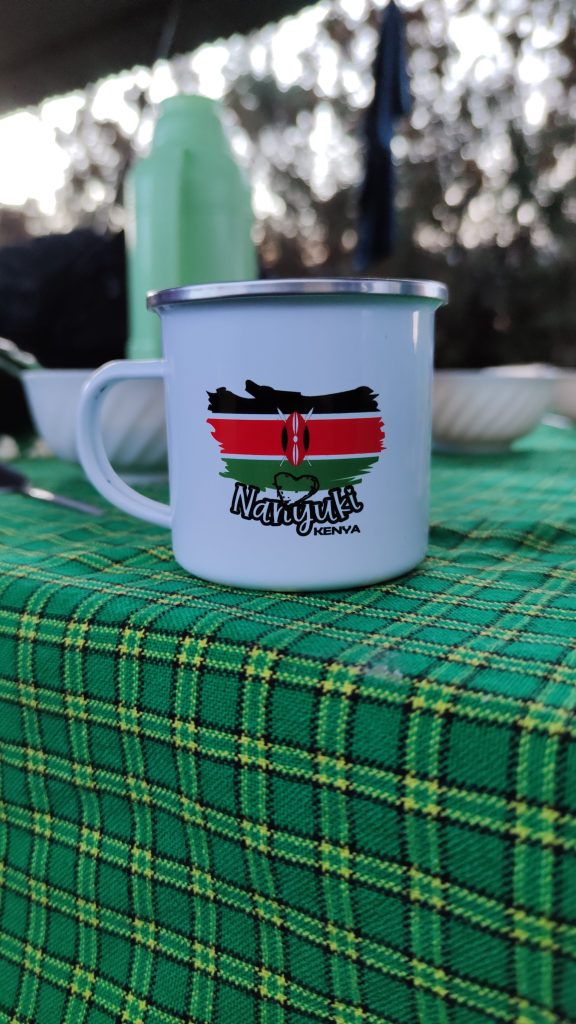
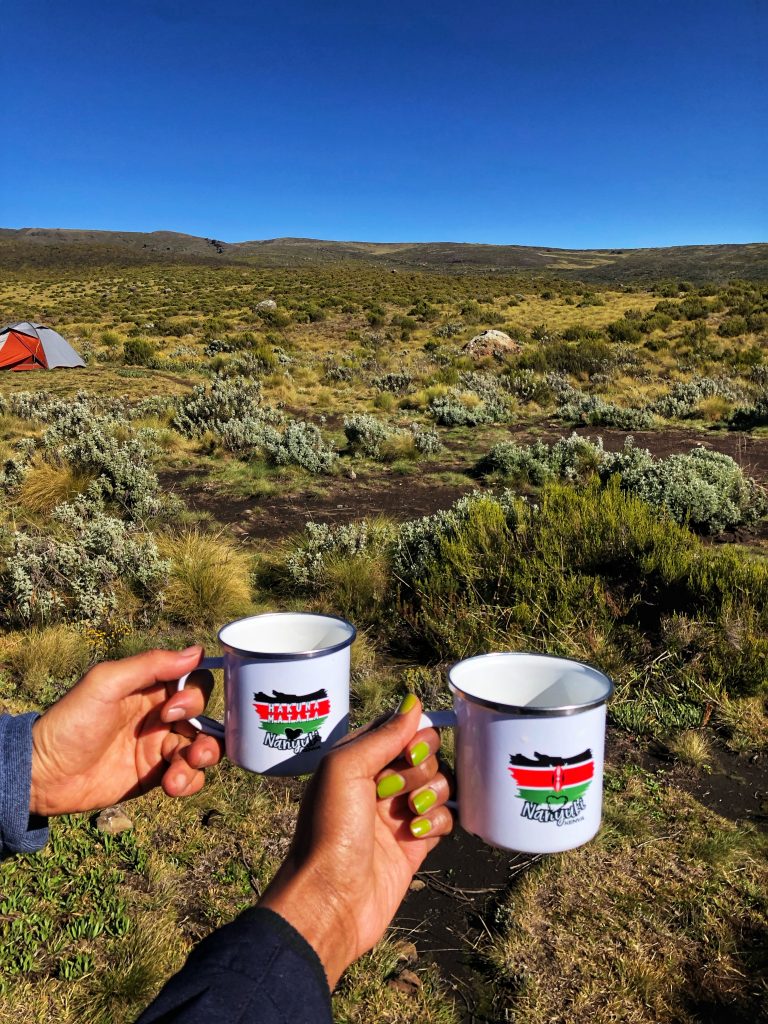
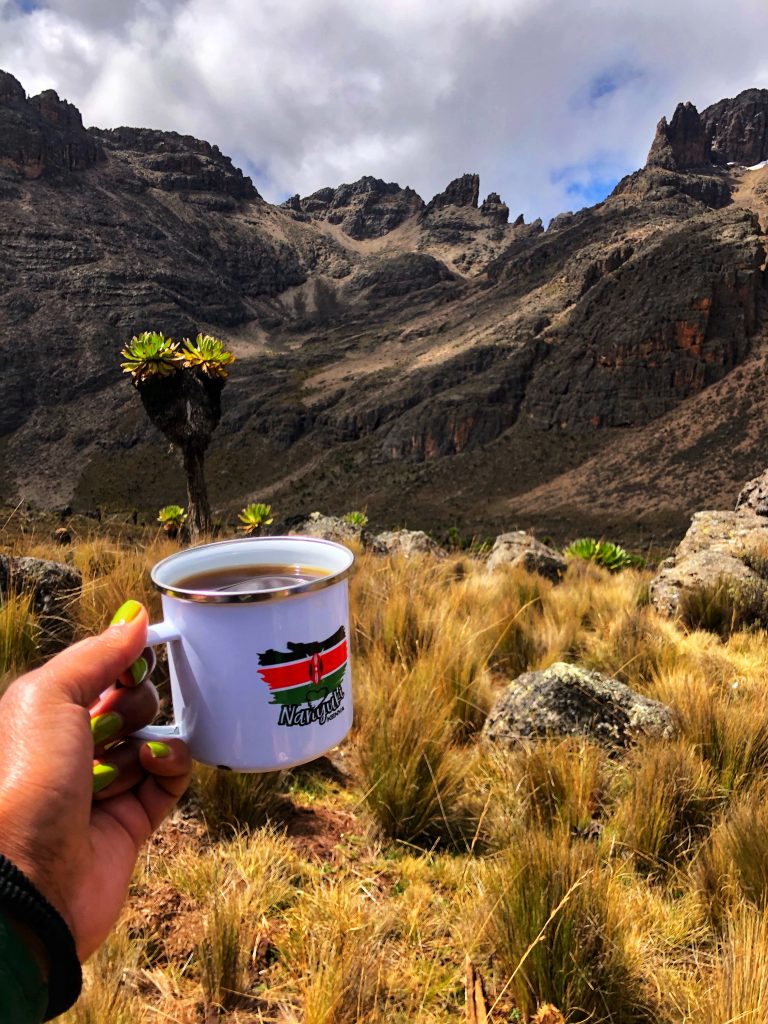
We set out for Nanyuki and had several stops along the way. First at Magunas Mwea to stock up for snacks and breakfast, then at the Equator for some touristy pictures and finally at The Cedar Mall in Nanyuki. We bought beautiful touristy mugs that reminded us of time spent with our grandparents imbibing hot sorghum porridge and teas from these mugs.
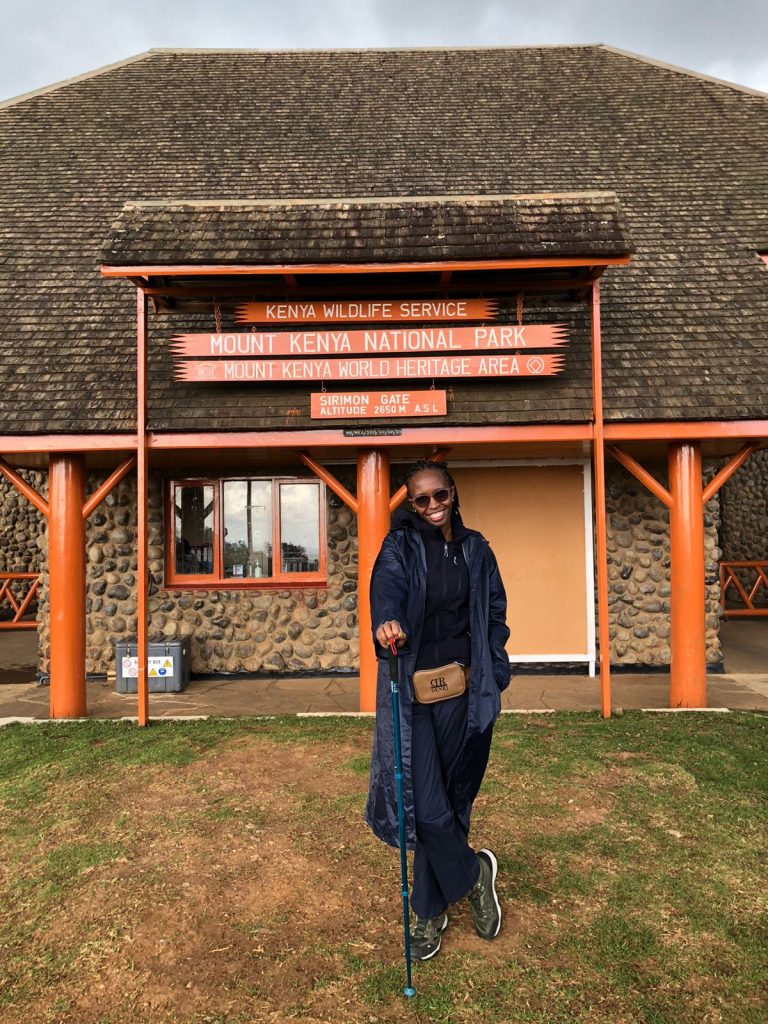
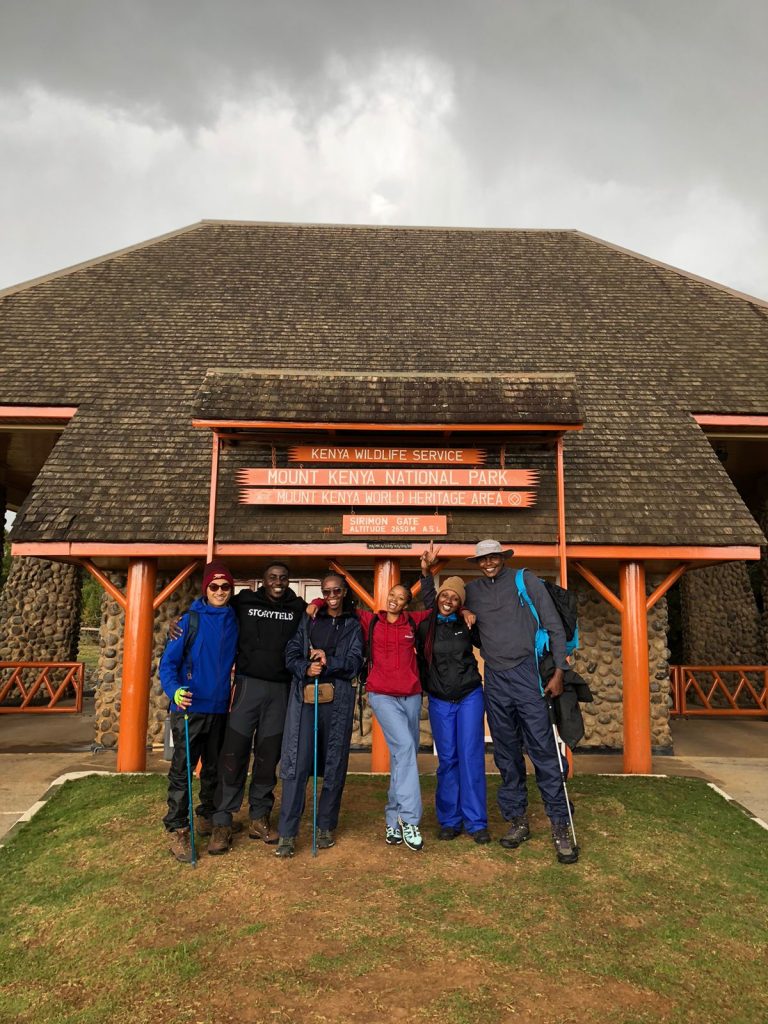
From The Cedar Mall we set out for Sirimon Gate where we had a healthy lunch and started packing for Old Moses.
The potters and guides helped pack and fit everything into the 80L bags which would then be carried by a small vehicle to Old Moses, as this stretch of the hike is tarmaced and accessible by vehicles. We also changed into rain clothes as it was starting to rain as you can see from the pictures below.
Before setting out, we took some group pictures.
We hiked through the rain to Old Moses. I’d advise carrying two pairs of waterproof gloves. Halfway through our trek, the rain stopped and we took a couple of pictures. We took videos of us in the rain too! Find the entire Mt Kenya Summit Instagram highlights here.
We got to Old Moses and set up camp. From the tents we could see the bandas. Bandas are available at KES 2,000 a night but we camped. This was my first time camping so it was quite fun.
The meals during our stay at Mt Kenya were healthy 3 course meals prepared by Chef Daniel. We started with a butternut garlic soup before the main meal which ended with the watermelons!
DAY 2: OLD MOSES CAMP TO SHIPTON’S CAMP
We woke up at 6:00 am to wash and pack up before camp.
Now, there’s not much washing that happens here apart from wiping with wet wipes. Another way to keep clean is to carry a small bowl (like 3 cups full) measurement of a bowl, a bathing towel, and bathing soap. Additionally, carry toothpaste, toothbrush and deodorant. After washing up, we went to have breakfast which started with a bowl of uji or porridge, then a beverage of choice (tea, coffee, drinking chocolate) with sliced bread with either margarine or peanut butter. We also had sausages, scrambled eggs and lemon drill pancakes.
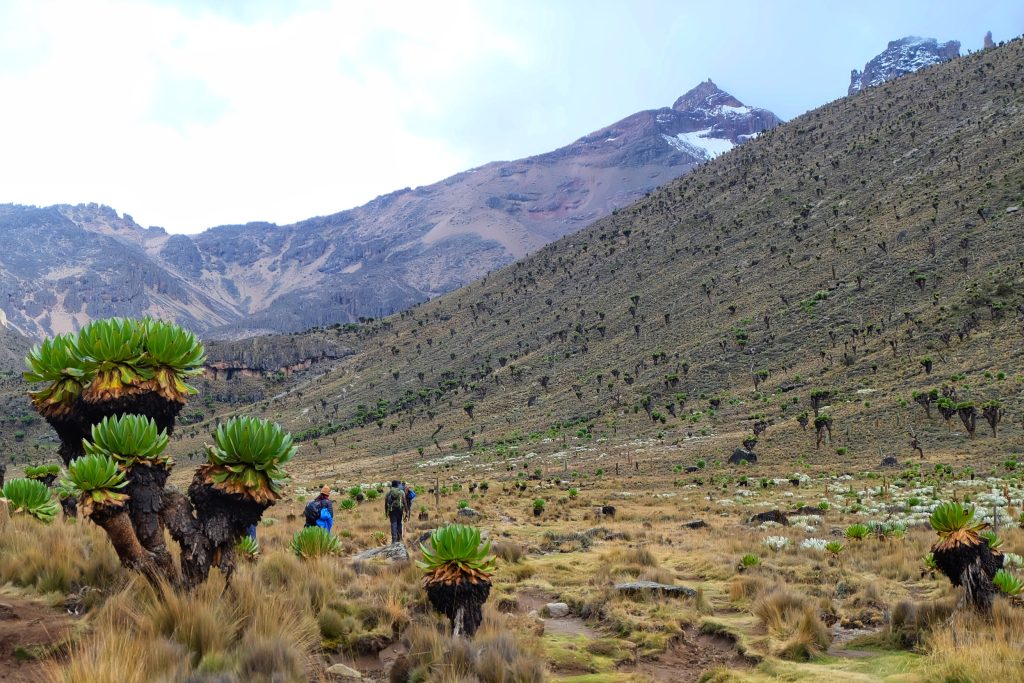
Monicah made sure we were well fed our entire stay in the mountain. After breakfast and packing, we started hiking at around 8:00 am to Shipton’s camp. A long trek through the heath and moorland. We could see Batian on our way to Shipton’s camp, so far yet so near.
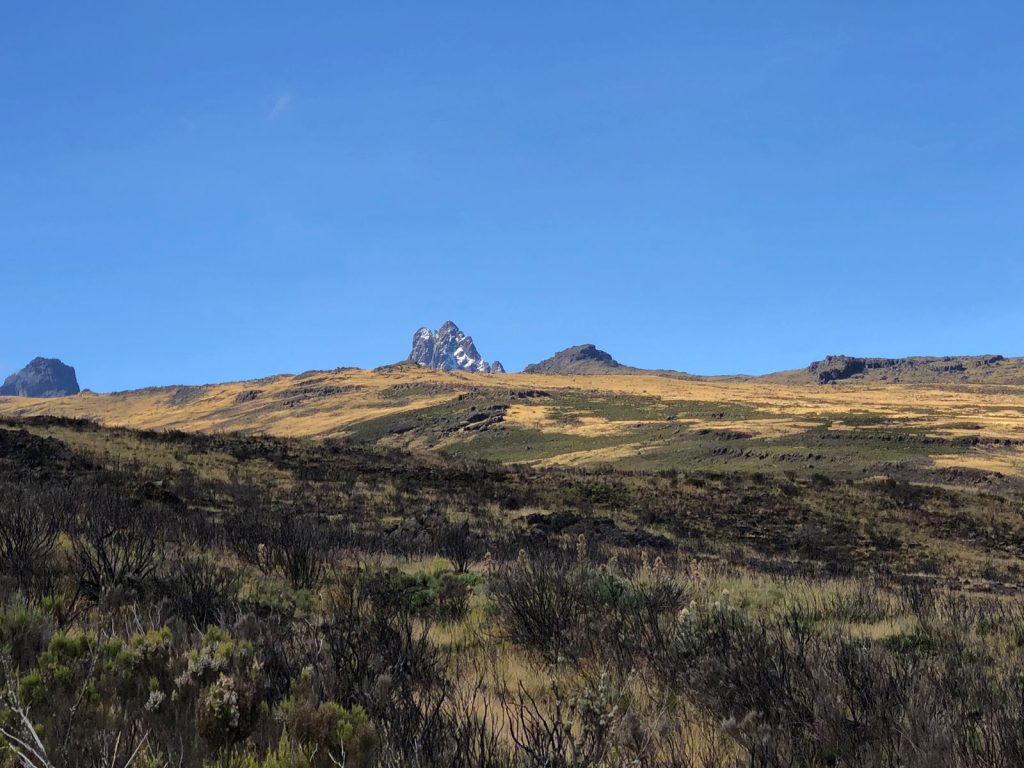
The weather changed and it started drizzling so we had to change into protective gear. Day 2 consisted of trekking through mountainous vegetation. The last we’d see of trees would be at Old Moses camp. The higher you go, the colder it gets and the vegetation changes to heath and moorland vegetation.
There are also streams and valleys. The first valley was Likii valley, and the second was McKinders valley.
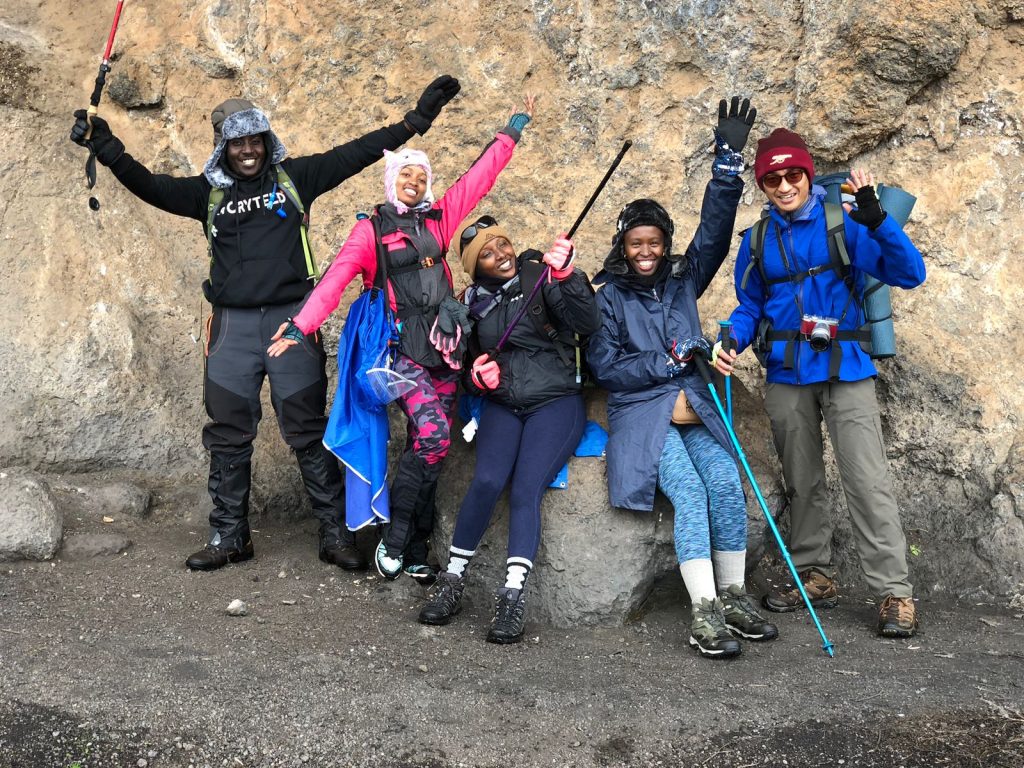
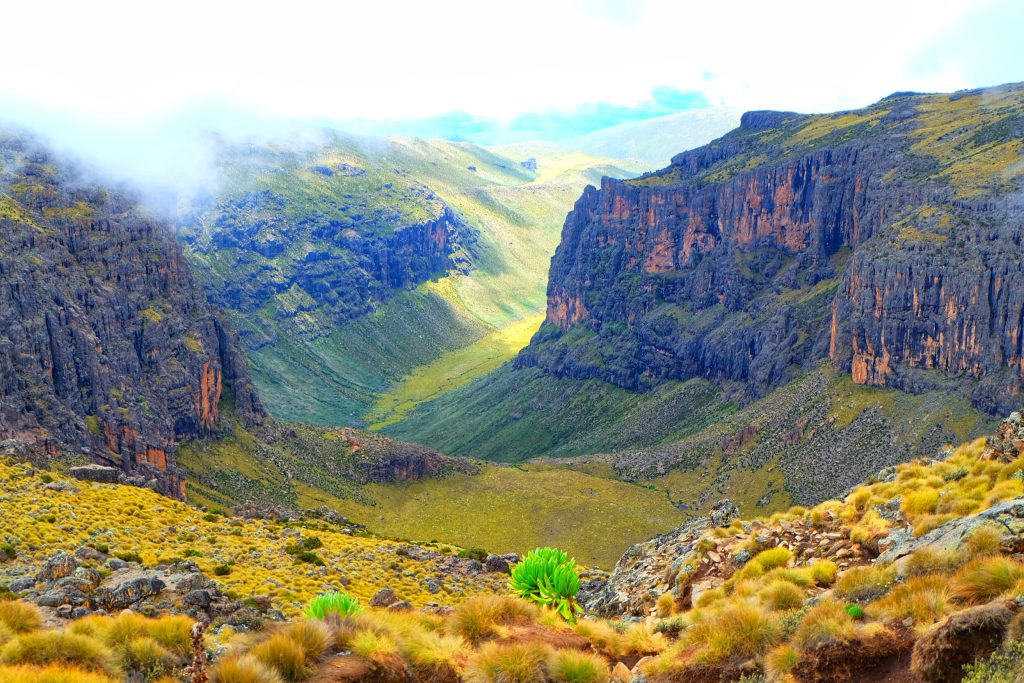
Before we descended to McKinder’s valley we had lunch at a place widely known as the lunch area or lunch zone. The descent starts off steep through rocks before it evens out to a plateau like walk. There’s also a cave where we took pictures.
Mckinder’s valley is long and dreary because you have to traverse it before you cross it. You only cross it when you’re about to ascend to Shipton’s camp past some caves. My body gave up at McKinder’s valley and our guide Samson helped me carry my daypack which I was so grateful for.
At McKinders valley we changed, had dinner and prepared for our 2 am summit. This meant sleeping in our summit gear as it’s so cold at Shipton’s camp.
DAY 3: SHIPTON’S CAMP TO THE SUMMIT, SUMMIT TO LAKE ELLIS CAMP THROUGH MINTOS CAMP
At 2:00 am we woke and by 2:30 am we’d our breakfast of coffee and biscuits. A shallow breakfast is recommended as the altitude can really mess your stomach and give you nausea or diarrhea symptoms at worst and really bad farts at best.
We started summiting at 2:35 and walked in a single file with Samson as our guide. The trail was steep and the scree wasn’t stable. No one spoke, except to ask for a water break. It’s much easier to summit when it snows as the ground is more stable and you’re more confident in your steps..
In addition, keep your phone near your body to keep it warm and prevent it from freezing. It would be 3 hours before we could see the sunrise or start speaking. When the sun rose it was incredibly pretty. We took a break at the mintos and shipton’s trail junction before proceeding to the summit.
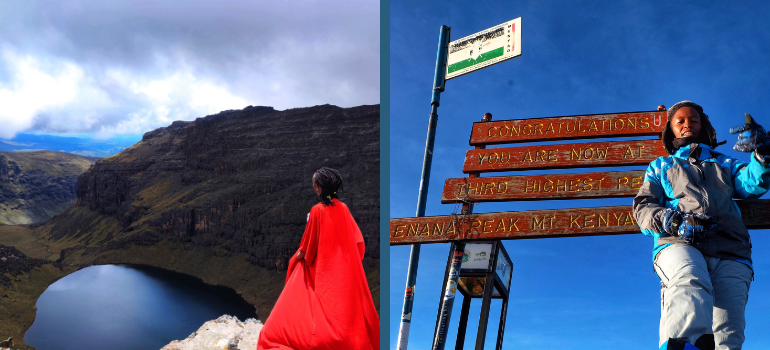
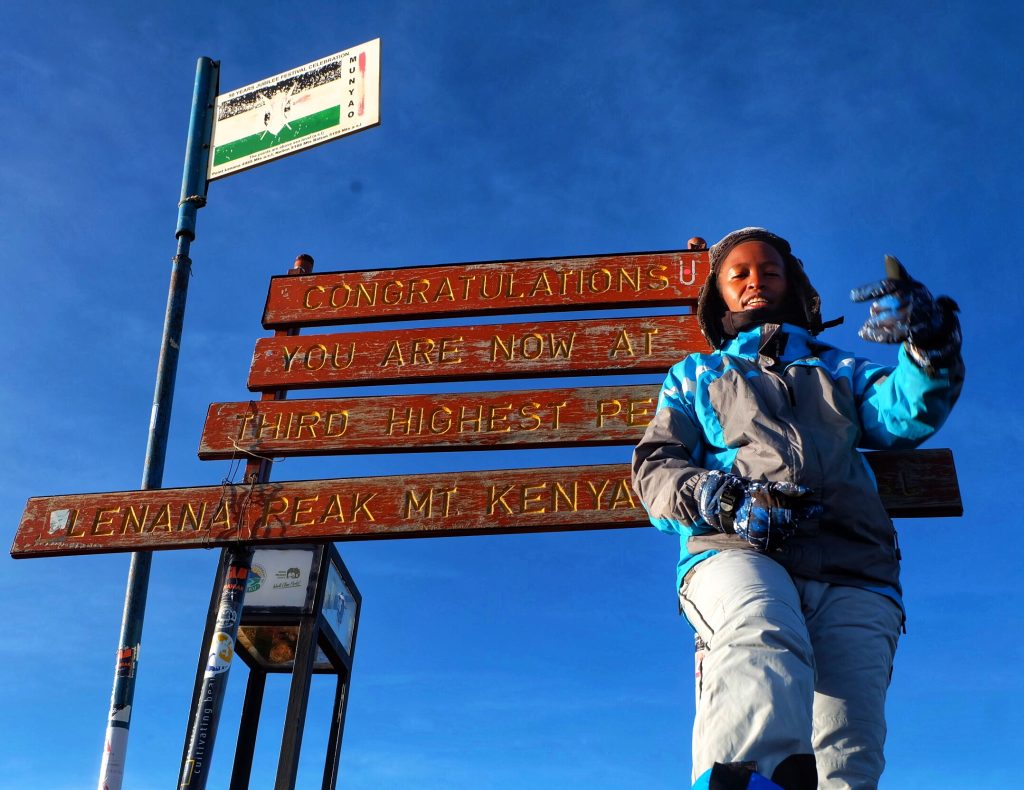
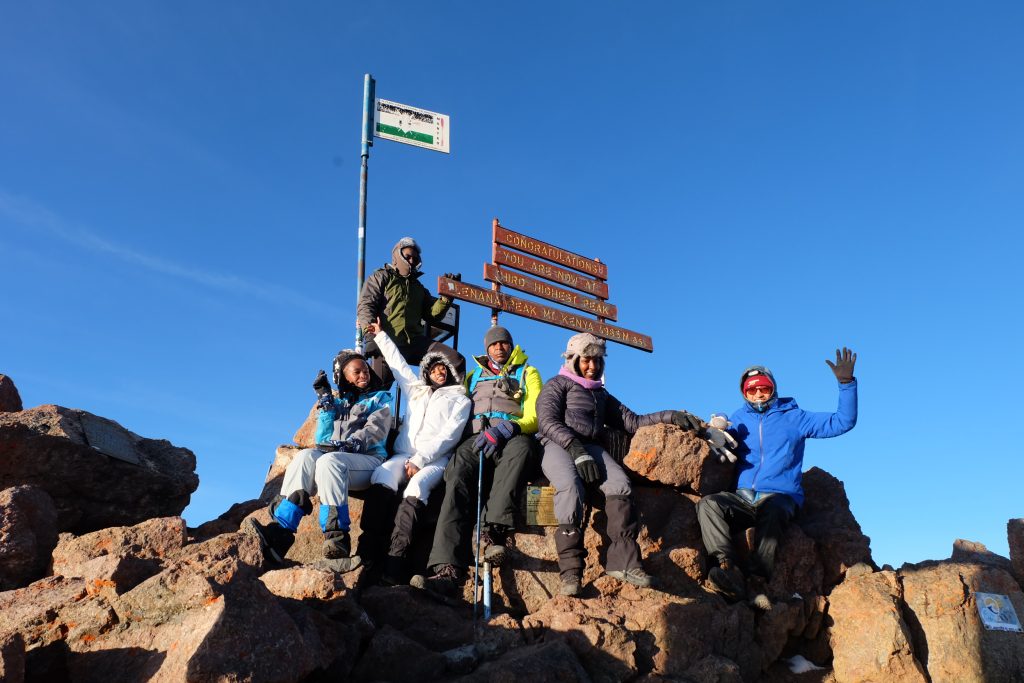
At 6:50 am all 6 of us summited which was a proud moment for me as I had never imagined I could ever camp in the wild, much less summit Mt Kenya.
Here are some pictures at Mt Kenya Lenana Peak:
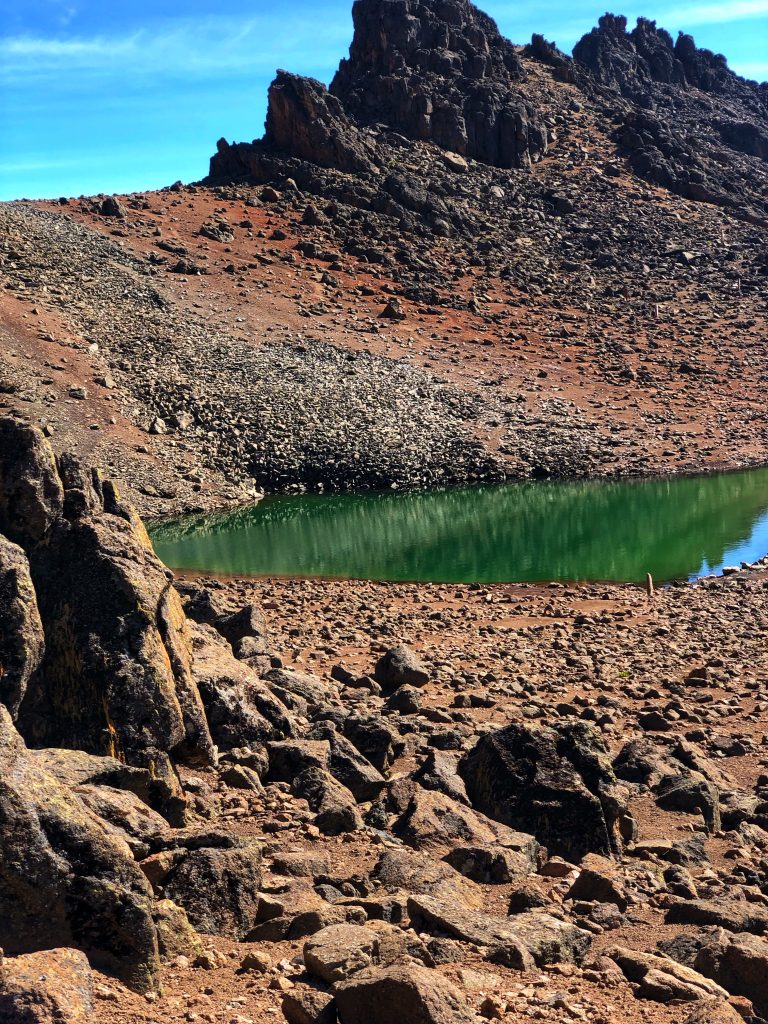
After 15 minutes of taking pictures, we started our descent to Lake Ellis, with a stop for breakfast at Mintos Camp. Before getting to Mintos camp we came across several tarns or lakes on our Trail. First was Harris Tarn where we took a break from the steep descent to enjoy the sun and take pictures.
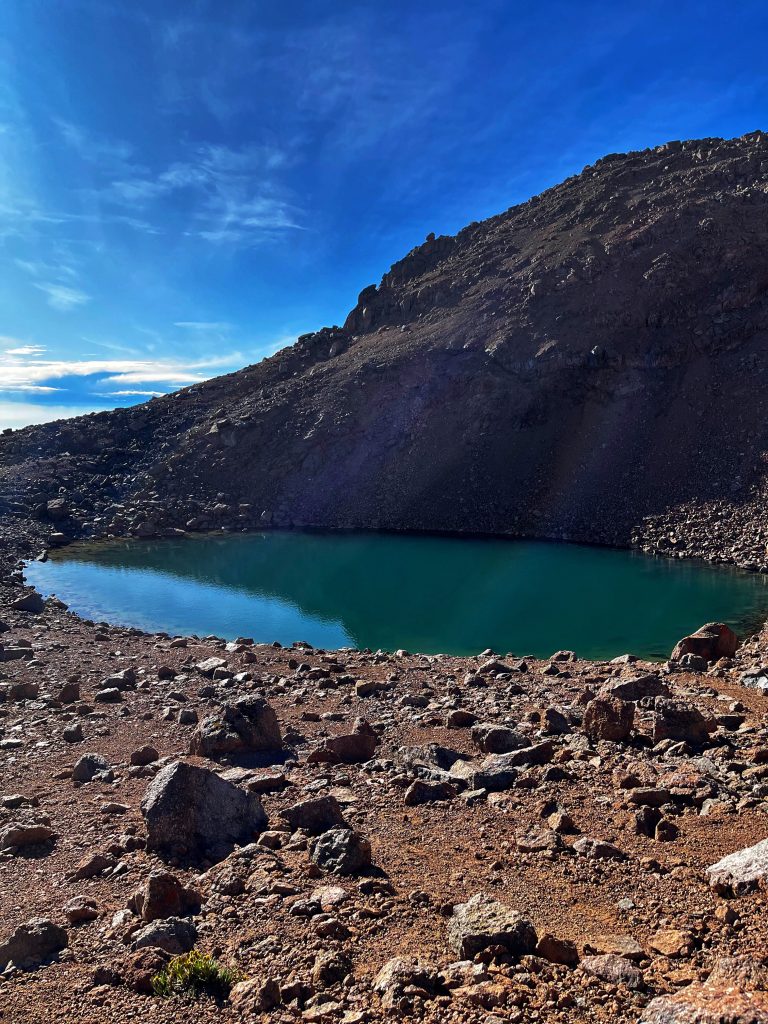
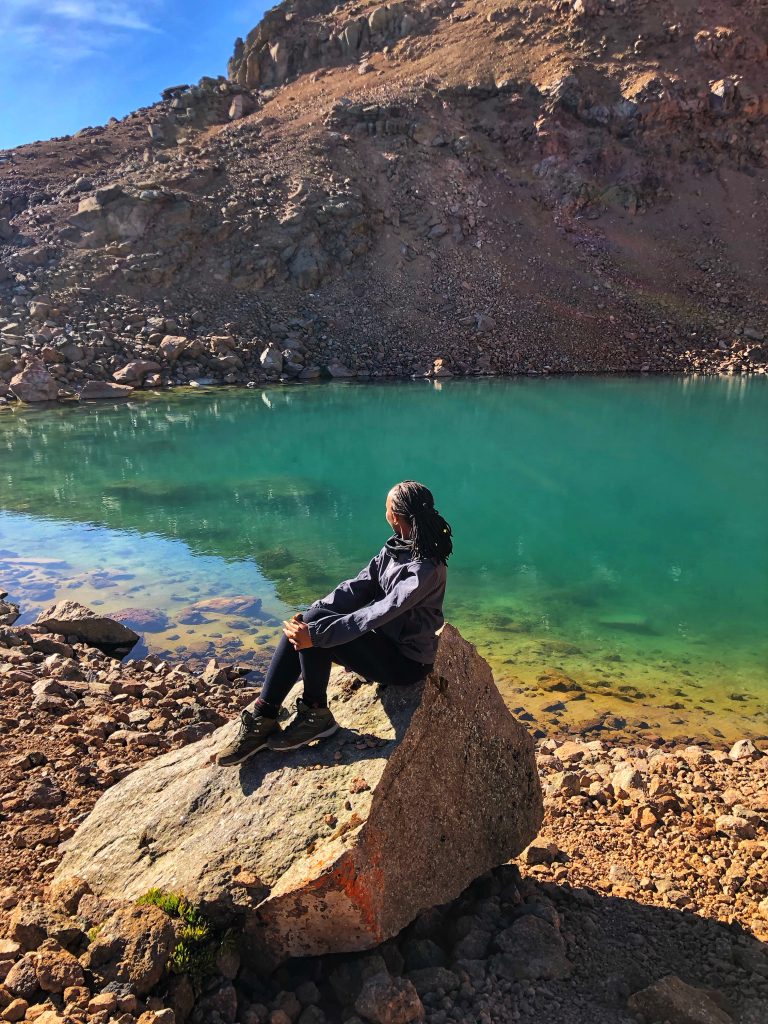
Then was Simba Tarn, nested in a corner on our way to Mintos camp for breakfast. We had not had breakfast since we started sumitting at 2:00 am.
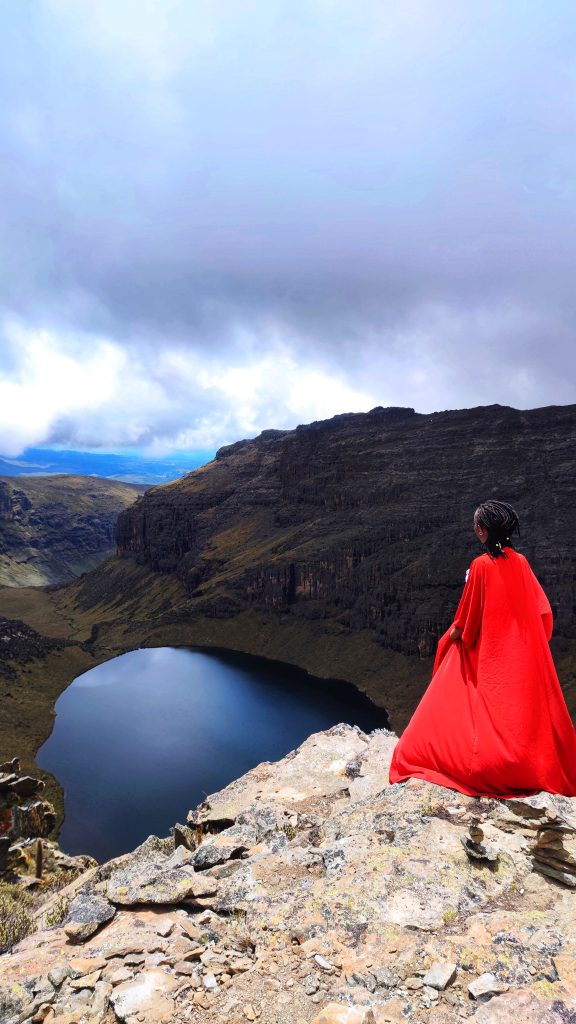
Then came Lake Michaelson where the girls had a photoshoot with our guide George as the photographer. A very talented and patient man. Here are a couple of pics from the Lake Michaelson photoshoot:
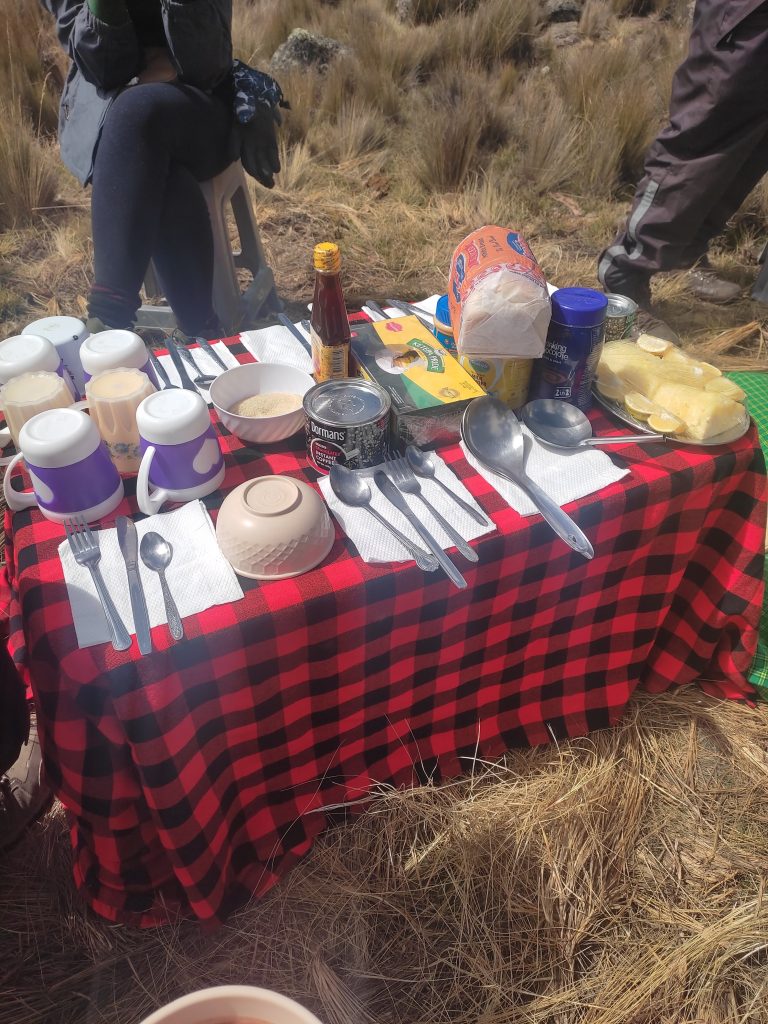
We had to deviate from our descent to Lake Ellis to get to Michaelson. Then came Mintos Lake. Since there was a larger group at Mintos camp (over 60 people) our breakfast camp was set just before Mintos camp. Some pictures from our breakfast table:
By the time we were getting back to the trail and the actual Mintos camp, the weather changed and it started raining. It would rain ¾ of the trail to Lake Ellis. Trekking to Lake Ellis was easy because it’s mostly descending through heath and moorland, but the trail is very long. Although you’re just descending, your body wears out.
Thankfully, Chef Daniel had made vegetable soup with toasted bread, hot popcorns and lemon tea. The star of the evening was the Japanese Sake from Kenny so I took a picture. We spent the rest of the evening enjoying the fire, well until 10:30 am before we retired to bed.
DAY 4: LAKE ELLIS CAMP TO NAIROBI THROUGH CHOGORIA GATE (MOUNT KENYA DESCENT)
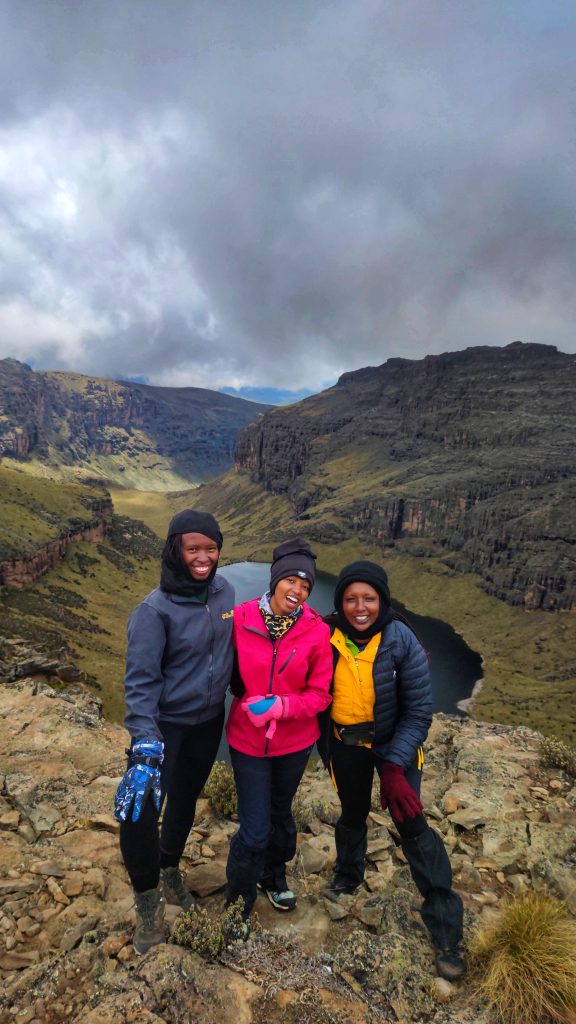
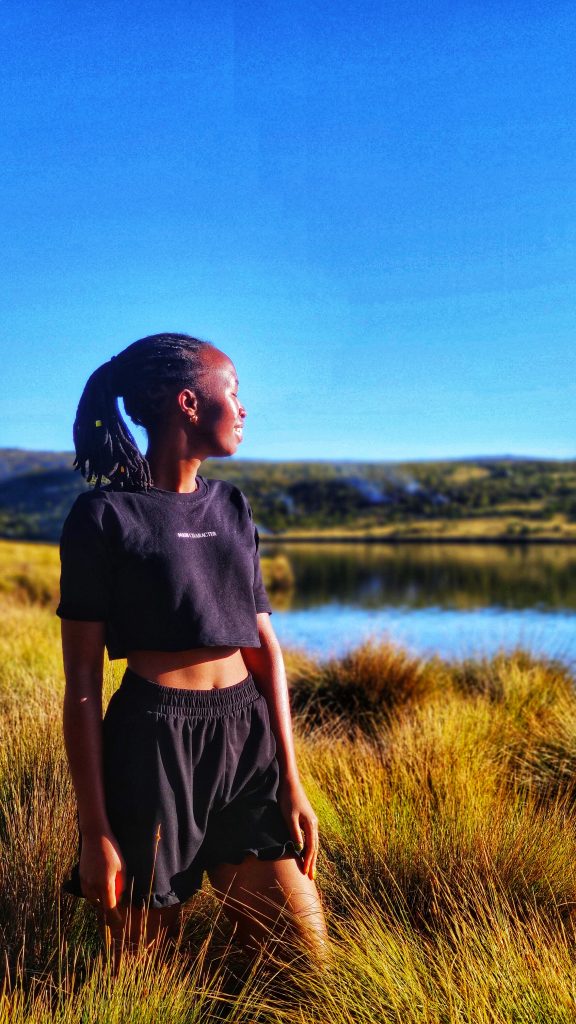
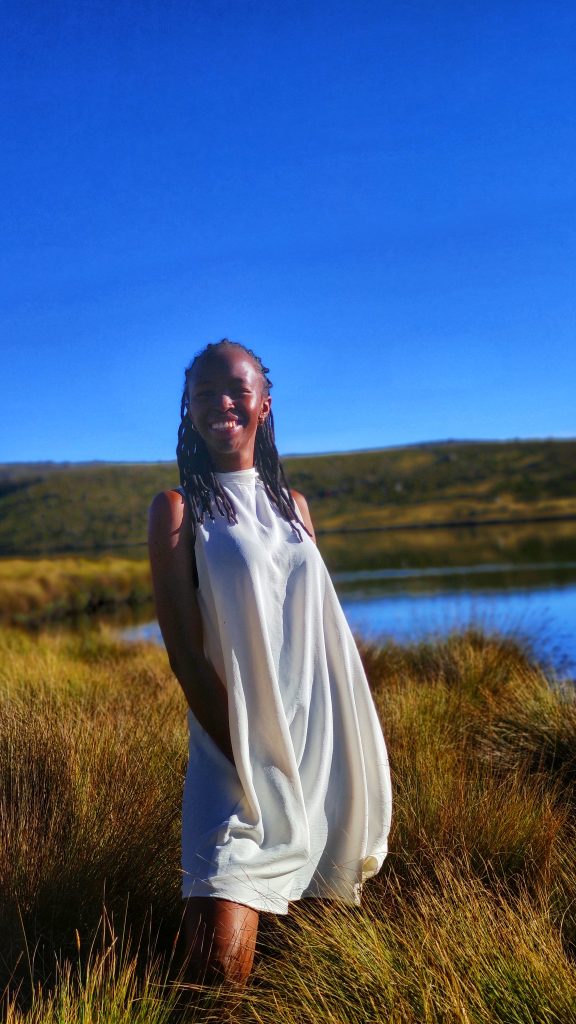
On Sunday morning we woke up to a gorgeous sunrise, perfect for yet another photoshoot with the girls. Then the guys had their less complicated photoshoot before sitting down for breakfast, goofing around and packing for Nairobi.
At around 10: 00 am we started our trek to Chogoria gate where we would be transported to Chogoria town to meet our van and our driver, Maathai. We also had a lunch stop at Mwea where we received our summit certificates before continuing to Nairobi.
We arrived in Nairobi at around 6:00 pm.
Mt Kenya Summit FAQS
- How hard is it to hike Mt Kenya?
It’s hard, as someone who has been hiking since 2021, I can tell you for a fact that it’s hard and Lenana is considered the easiest peak to summit.
- Can you hike Mt Kenya without a guide?
No.
It’s not safe to hike without a guide. You can definitely hike alone but you have to have a guide and a porter to carry your 80L bag. That makes a team of 3. However, hiking alone means that you’ll pay more and I believe it’s more fun hiking as a group.
- How long should a hike be for beginners?
Start with day hikes around Kenya, especially rewarding day hikes with waterfalls. Then move on to the Aberdare Ranges to test your body’s performance on altitude.
- How do I prepare for Mt Kenya hike?
By doing some prep hikes. In addition to being a seasoned hiker, my group and I did 4 prep hikes as described above to help with preparation.
- How much does it cost to hike Mt Kenya?
It costs me $400 prep hikes excluded and $550 prep hikes included. Non-resident charges might increase to around $750.
- How long does it take to climb Mount Kenya?
It took me 4 days to climb Mount Kenya.
I’d not recommend less than 4 days unless you’re training for the olympics.
- What is the summit of Mt Kenya?
The highest peaks of the mountain are Batian (5,199 metres or 17,057 feet), Nelion (5,188 m or 17,021 ft) and Point Lenana (4,985 m or 16,355 ft).
We summited at Point Lenana.
Here are a few more posts you may like:
A Hikers Guide to Hiking and Hiking Gloves
10 Hikers You’re Most Likely to Meet on Your Hiking Trail
Rurimeria Hills Hike, Aberdare Ranges : What You Need To Know
Sorry, the comment form is closed at this time.
Pingback: Crampons for Hiking Boots: 9 Things You Should Know